Homemade Sweetened Condensed Milk
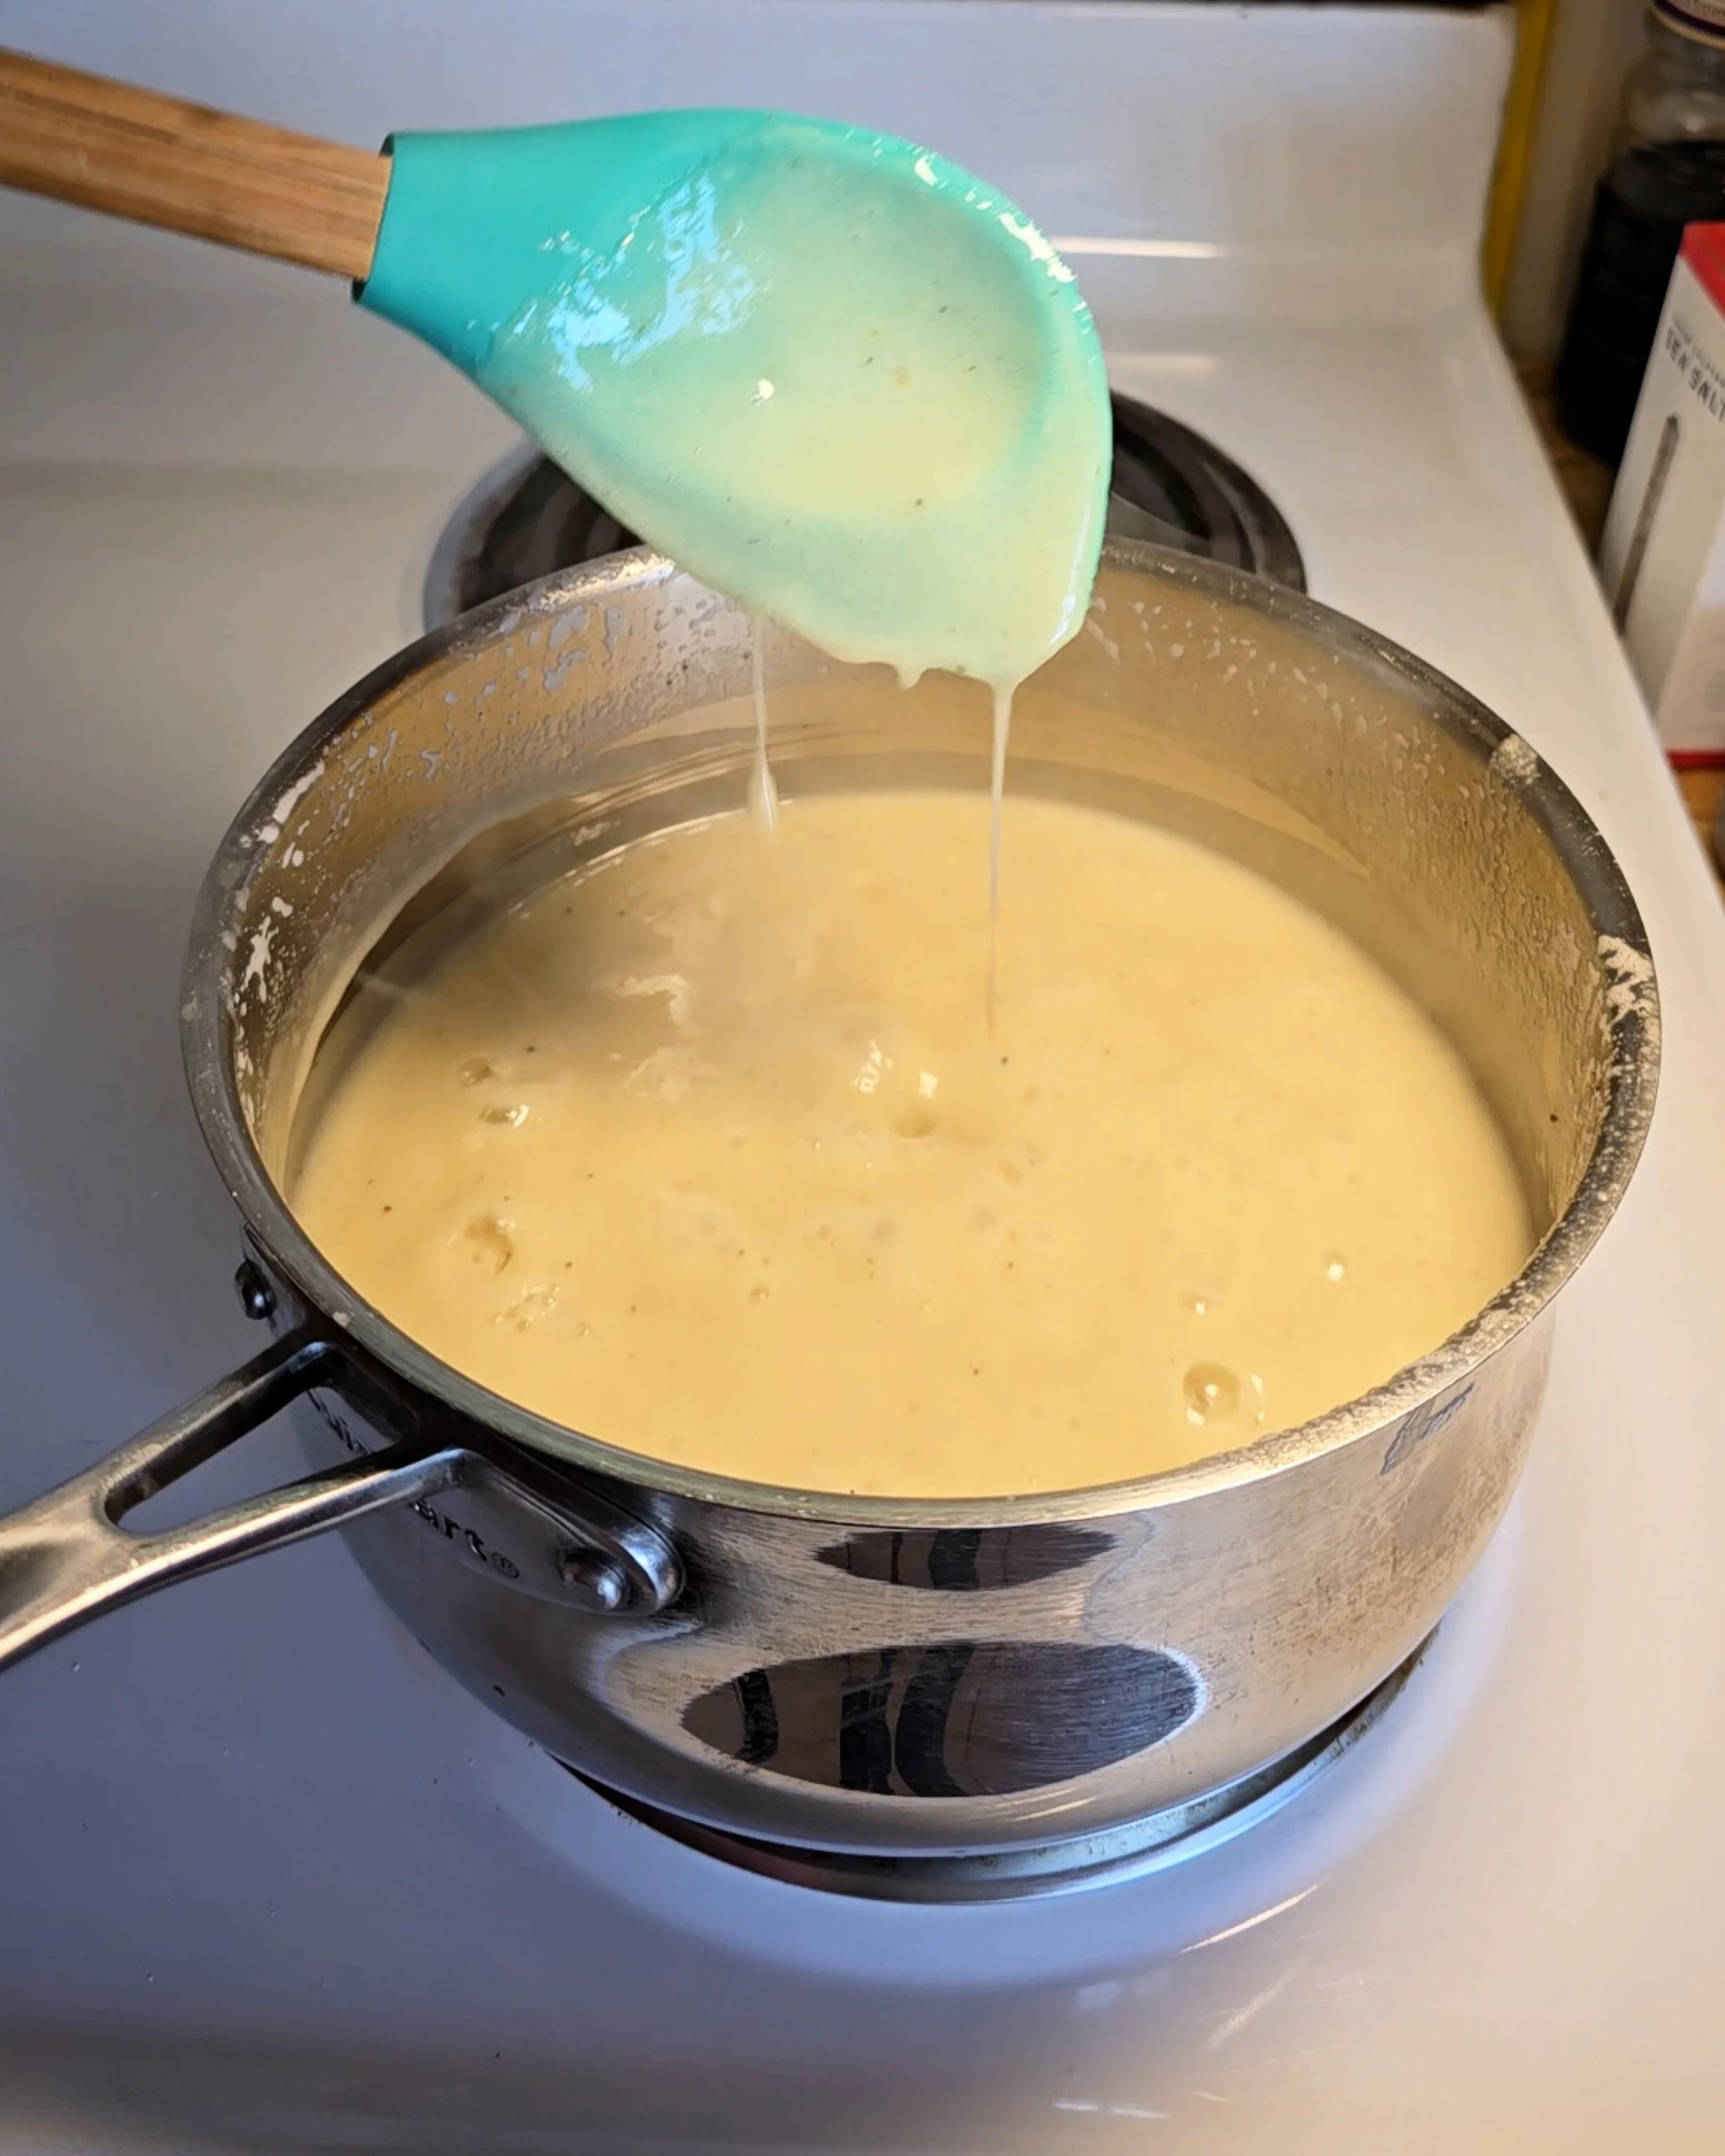
If you've never made sweetened condensed milk at home, let me be the one to tell you—it's incredibly easy and delicious. Made with just three ingredients you probably have at home right now. Homemade sweetened condensed milk can be substituted for canned in any recipe or use it anywhere you enjoy sweetened condensed milk.
Why make your own sweetened condensed milk?
I’ll tell ya—because I made the evaporated milk, which means I got to pick the dairy. I like that I can use high-quality, local dairy. Big plus, my evaporated milk recipe works with any milk—cow, sheep, goat, plant—what have you. So if it strikes your fancy, you could even make this recipe vegan.
I use raw organic cane sugar, which is my preference for almost any baking recipe at home.
I’ve got to add vanilla, which—yes—is totally optional, but in my humble opinion, it elevates the end product by a noticeable degree. If you’re using this sweetened condensed milk as a coffee creamer, you could experiment with whatever flavor you like.
And let’s not forget: the flavor of homemade is incomparable to canned or store-bought. The best foods are often the simplest. The real secret to excellent cooking or baking isn’t adding a bunch of things—it’s taking your time with the best-quality ingredients.
Homemade Sweetened Condensed Milk
Ingredients
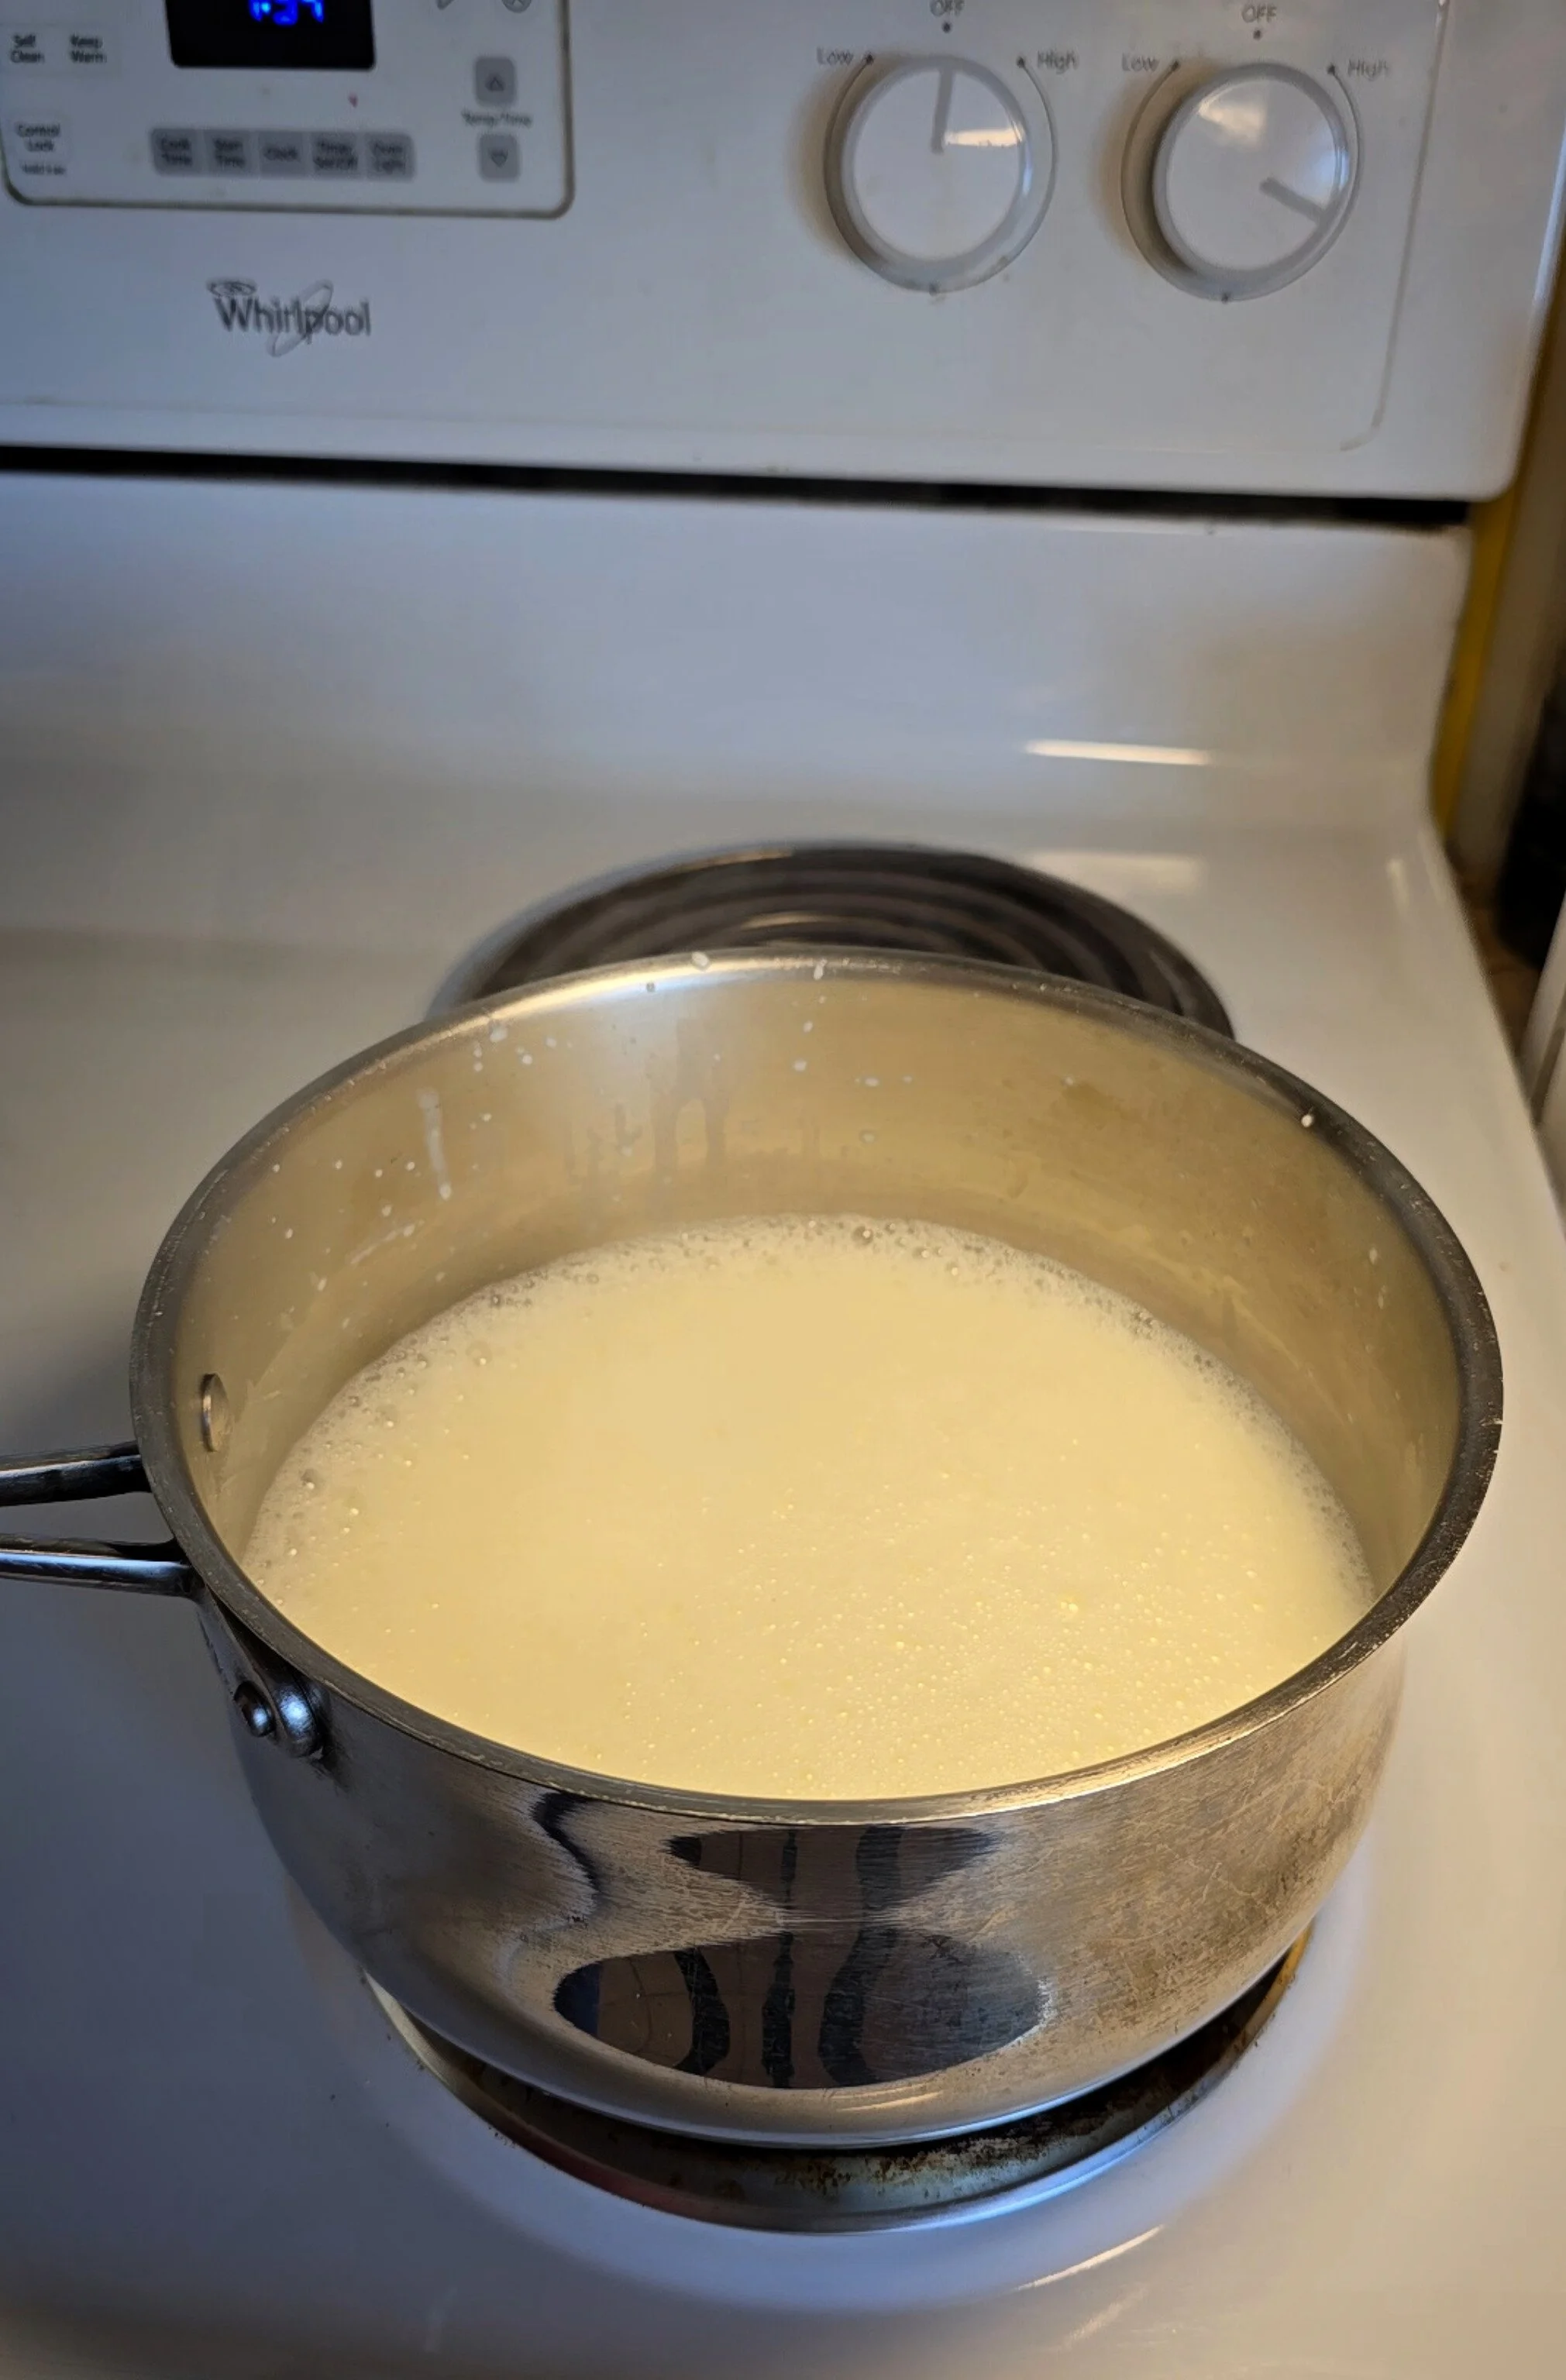
- 1 recipe (12oz or 1.5 cups) evaporated milk or one 12oz can
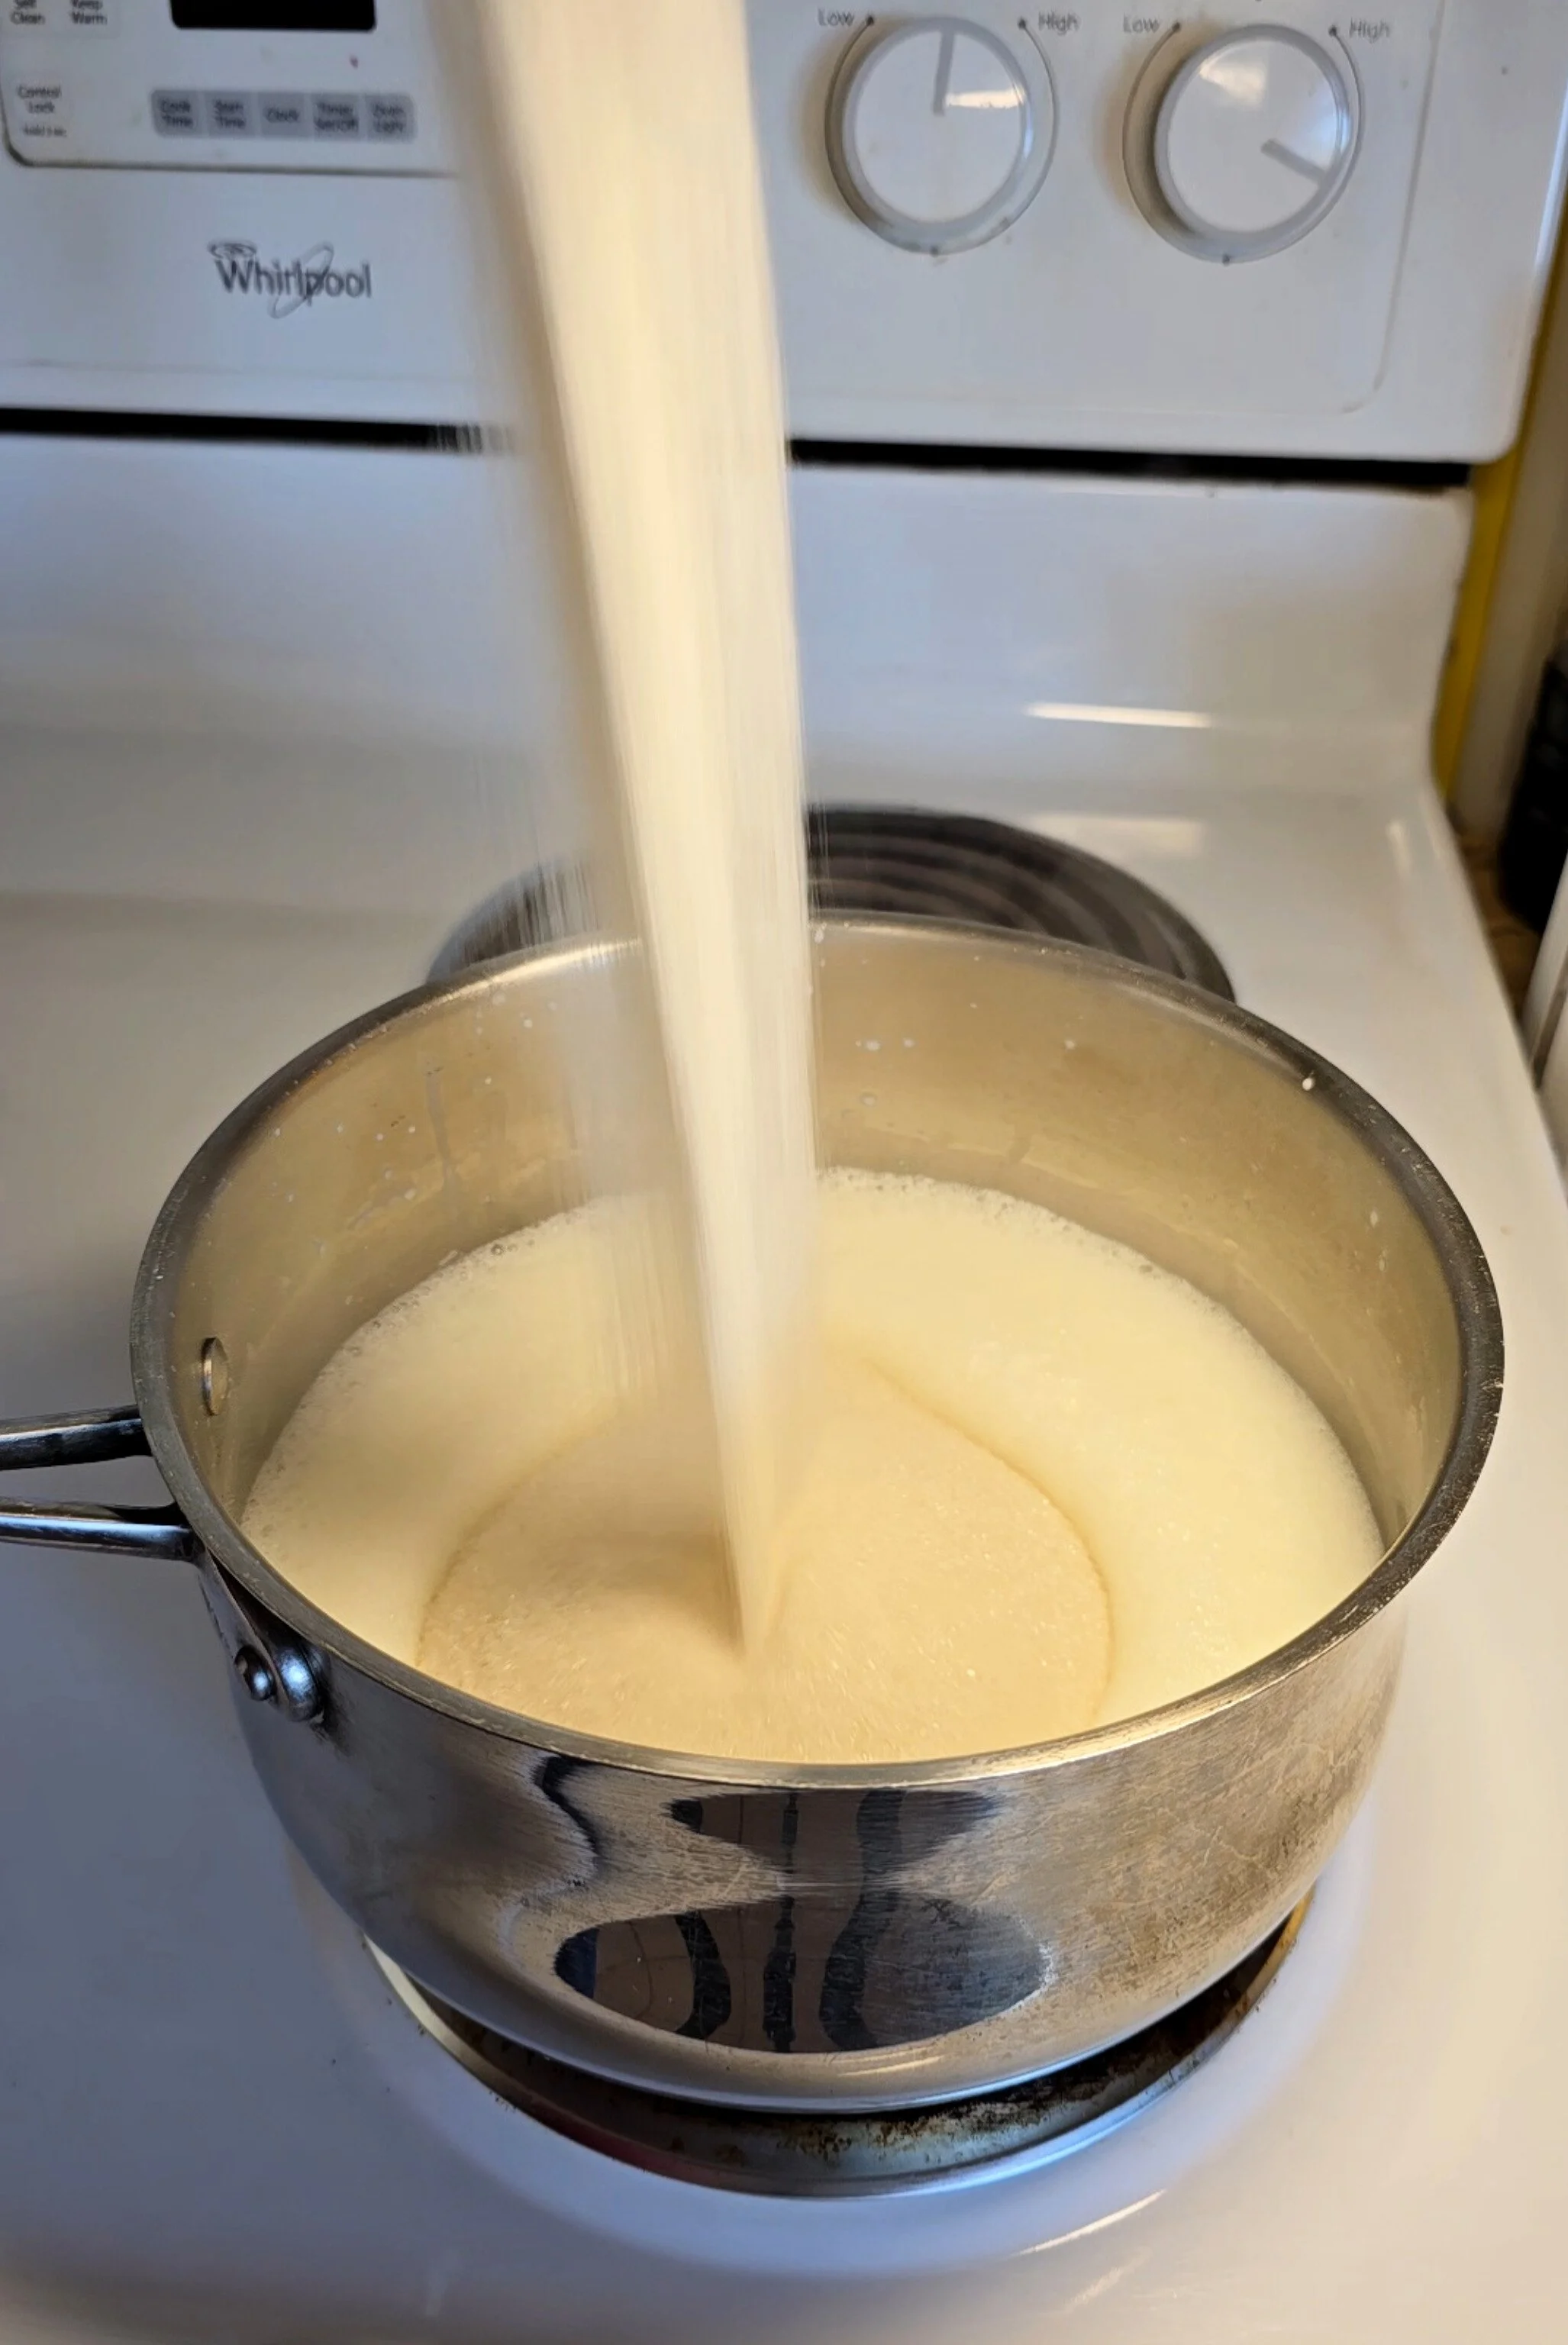
- 1 ½ cups raw organic cane sugar (or preferred sugar)
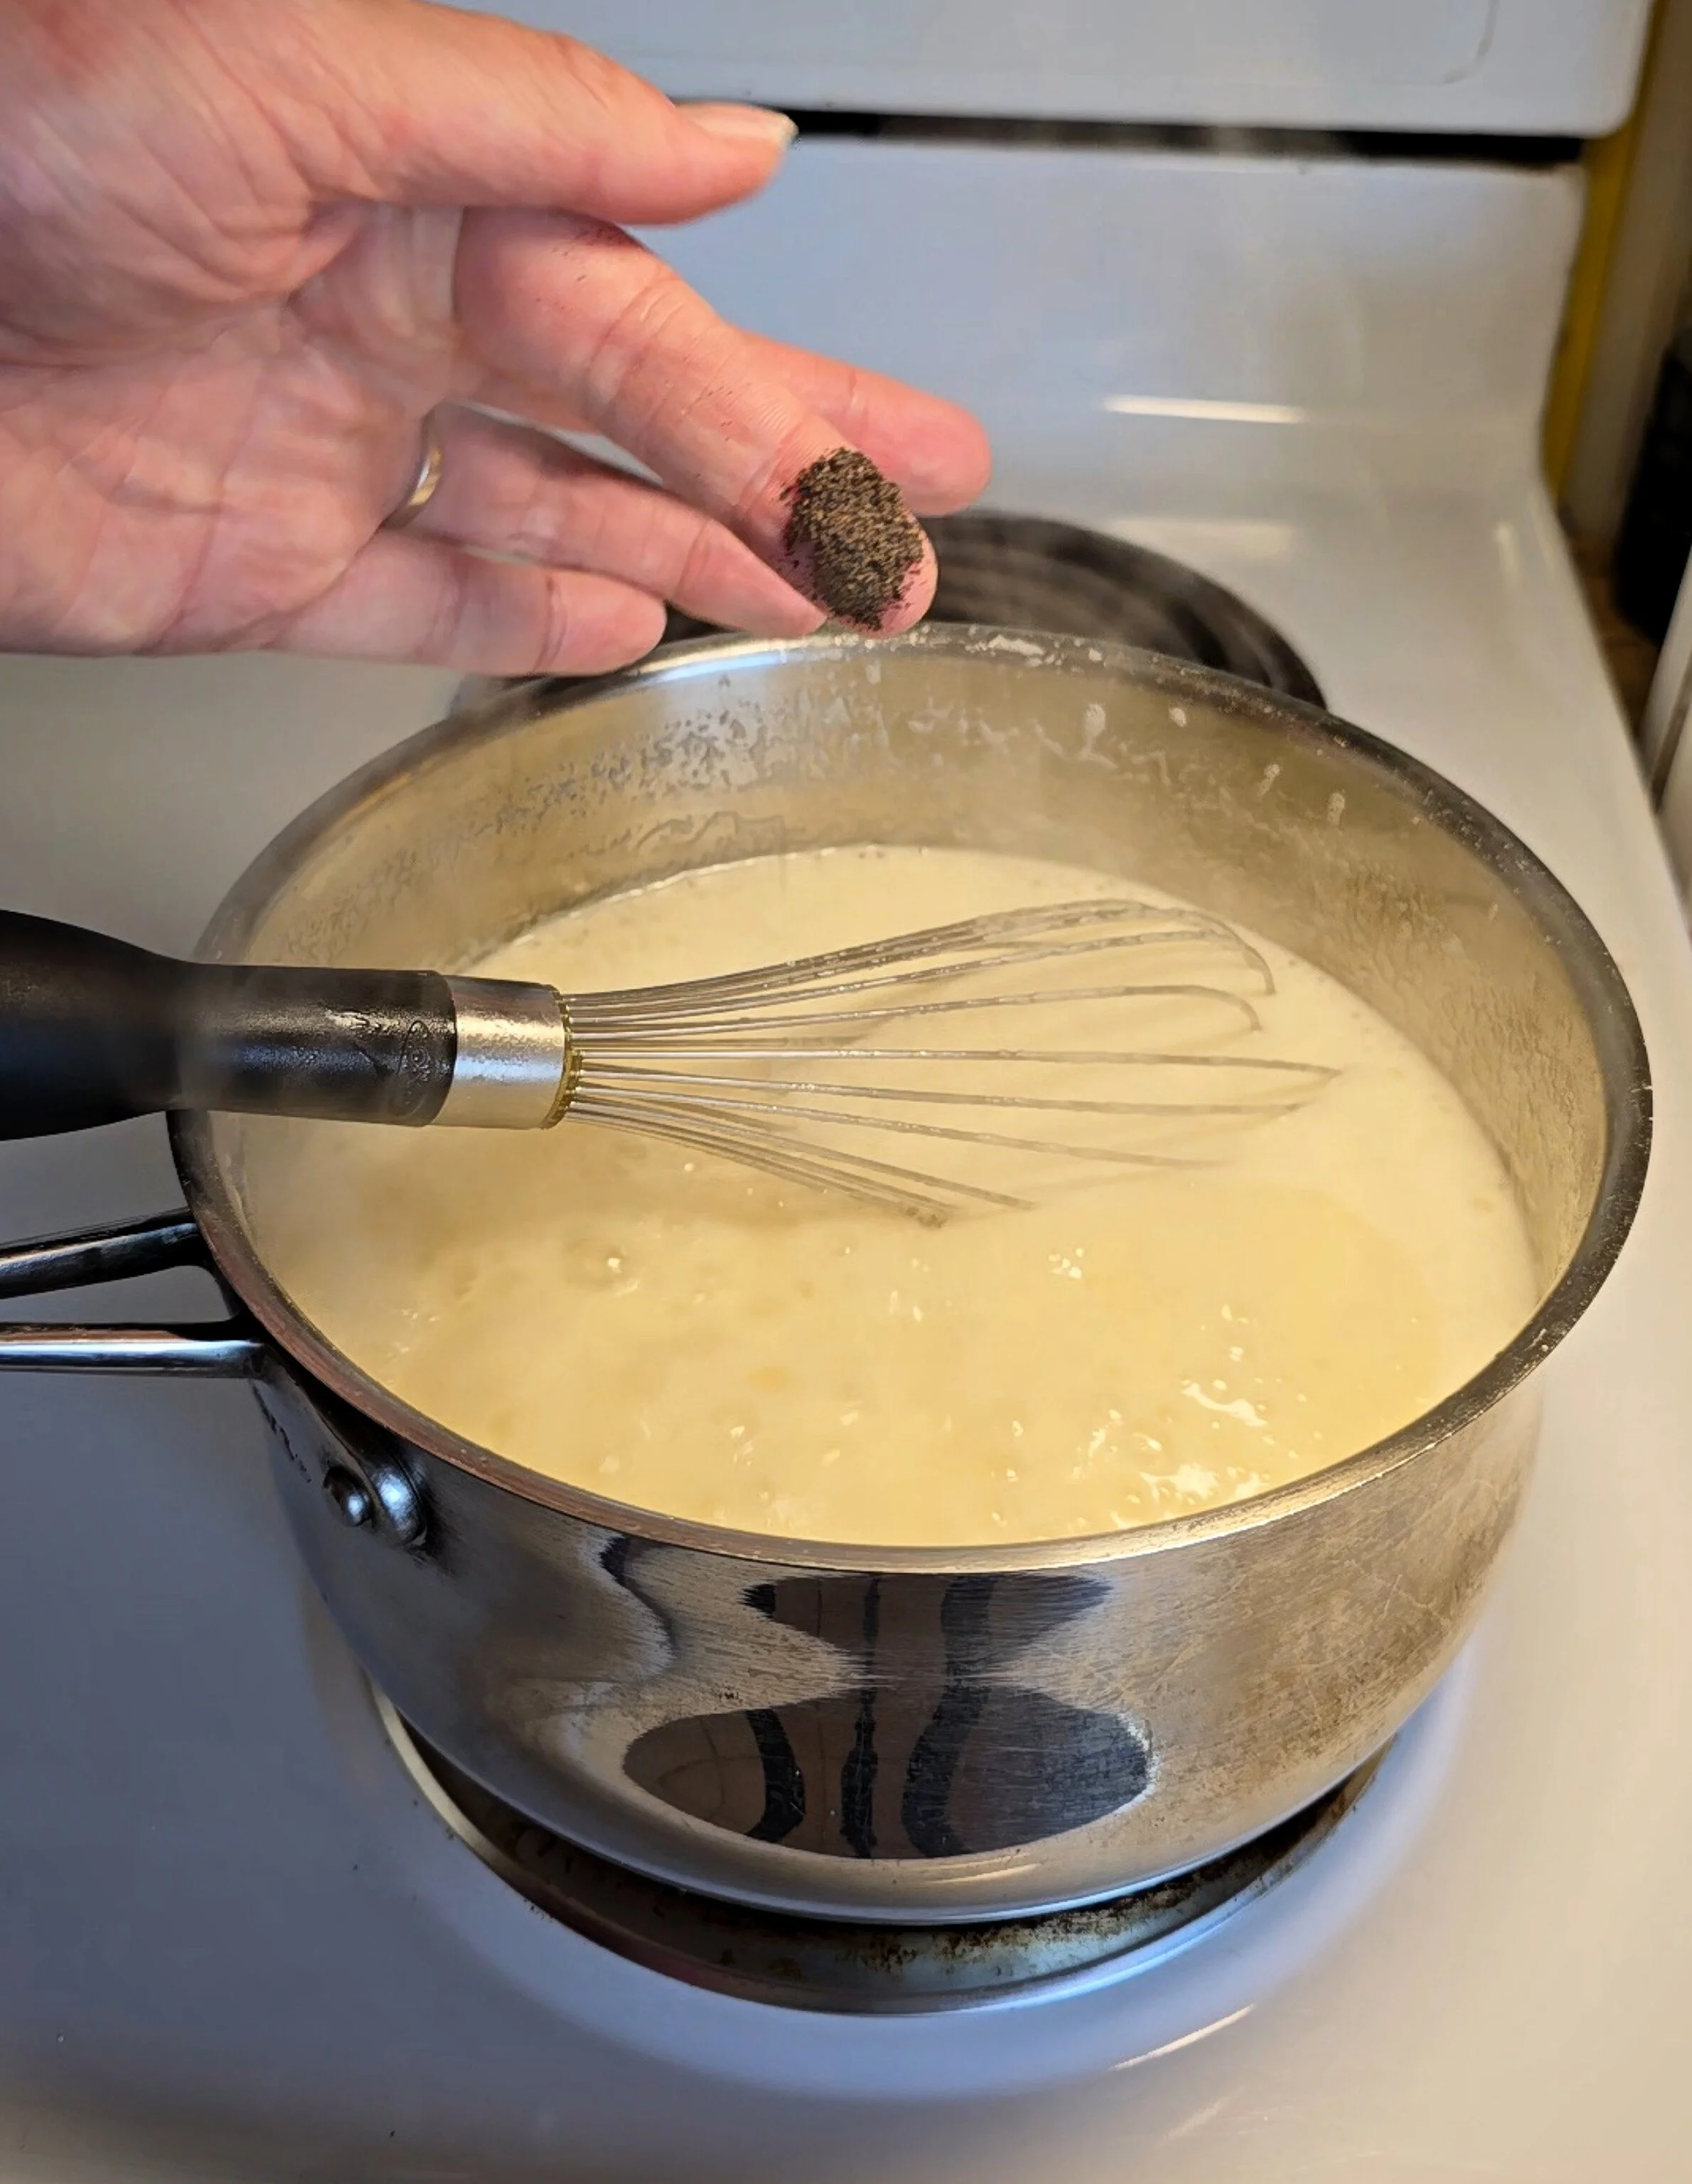
- Scrapings of 1 vanilla bean (optional)
- 1 teaspoon vanilla extract (optional)
- equipment:
- Medium Sauce Pan
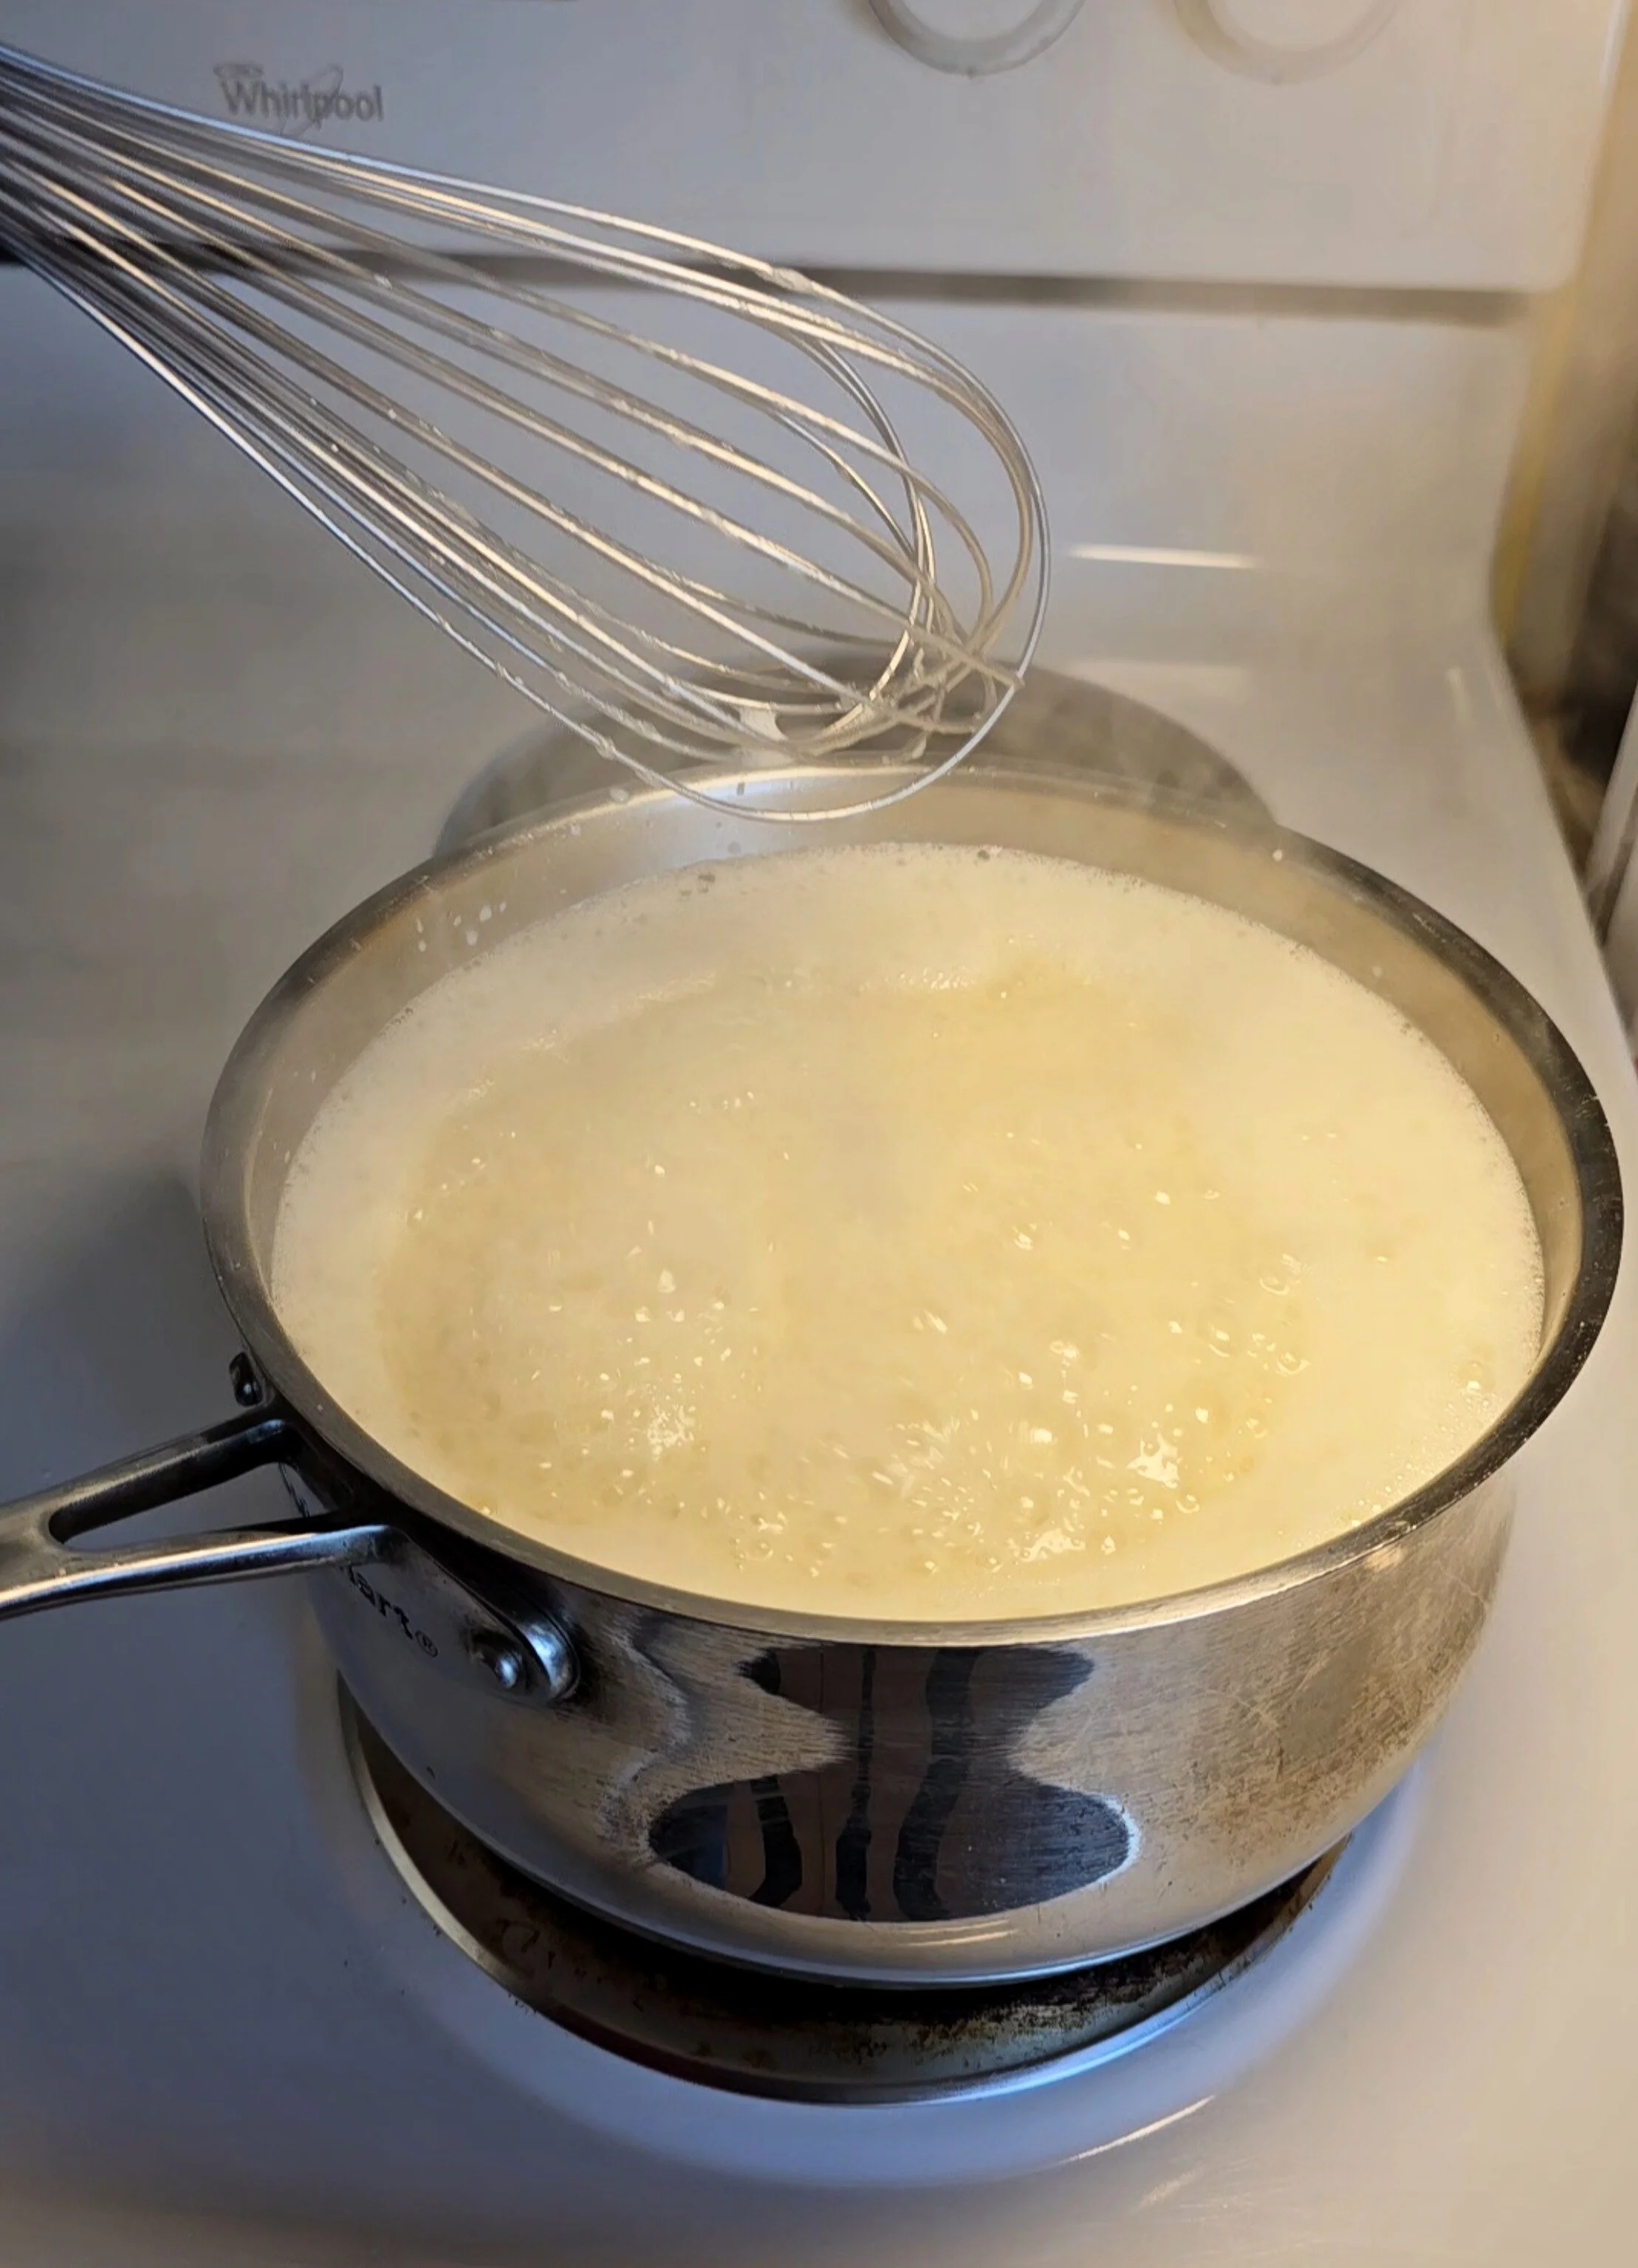
- Whisk
- Heat safe spatula
- 16oz jar or other airtight container


